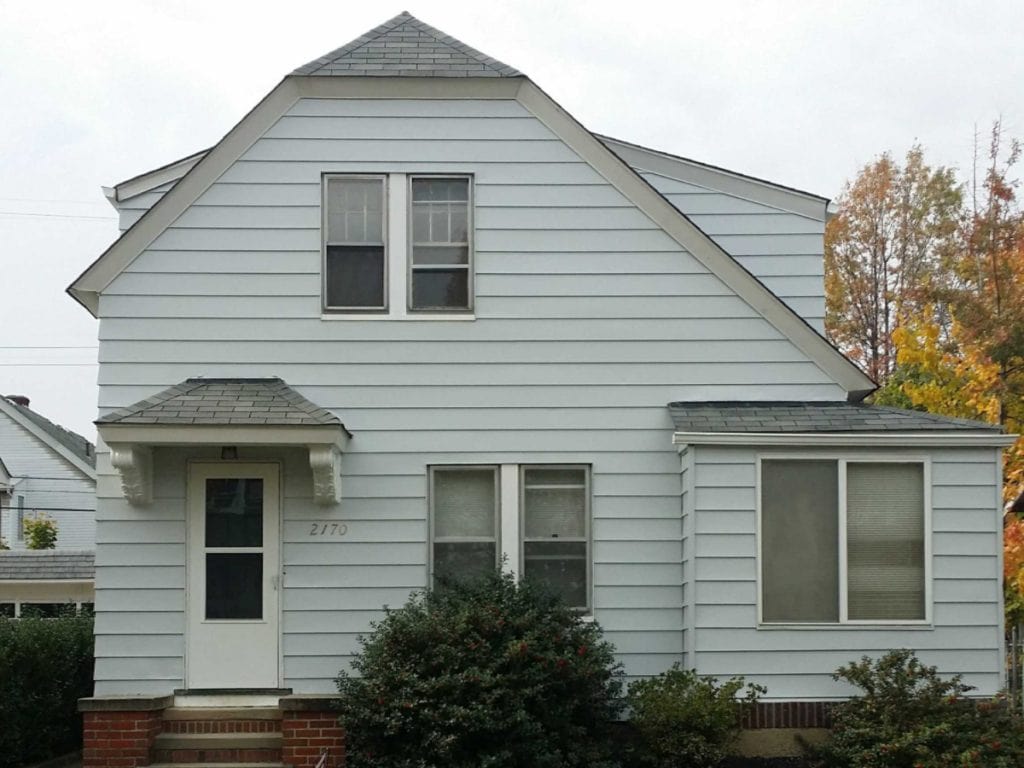
For today’s blog, we will discuss the process of cleaning aluminum siding to ensure the best results for your home improvement project. There are a few essential steps that need to be done before painting, as proper preparation is key to a long-lasting finish. You must adequately clean to remove the paint’s oxidation, a chemical process that occurs over time and can leave a chalky residue on the surface. Failing to remove this oxidation can prevent new paint from adhering properly, leading to peeling or uneven coverage. Taking the time to clean your aluminum siding thoroughly will help the new paint bond better and extend the life of your exterior finish.
The paint oxidizes, creating a powdery texture that can easily be overlooked but is crucial to address before starting any painting project. If you don’t clean this off, the new paint won’t bond to the aluminum surface, leading to premature peeling or flaking. Proper cleaning is essential to ensure a smooth and durable finish that will last for years. This article will give you an idea of what cleaning preparations you should do before painting aluminum siding, including the best cleaning agents to use, recommended tools, and step-by-step instructions. By following these guidelines, you can achieve a professional-looking result and protect your home’s exterior from future damage.
Cleaning Aluminum Siding Process
1.) Pressure-washing
The first step is pressure-washing the aluminum siding to remove dirt, debris, and any loose paint that may be clinging to the surface. Rinse the surface thoroughly and use a medium pressure level along with an angled spray nozzle for the best results. This ensures that you don’t damage the siding while still providing enough force to clean effectively. Concentrate on one side of the home at a time and spray from top to bottom, allowing the dirty water to flow downward and preventing streaks. Taking your time with this step will help guarantee a clean, smooth surface that’s ready for the following stages of preparation and painting.
2.) Wet down the vegetation
Lightly wet the vegetation around the house before spraying cleaners or outdoor bleach products to protect your plants from any potential damage caused by harsh chemicals. This simple precaution helps dilute any runoff and keeps your landscaping healthy. Always read the container instructions carefully to ensure the mixture is produced correctly and safely. Improper dilution can reduce cleaning effectiveness or even harm your siding and plants. Also, wear the recommended protective gear, which includes gloves, glasses, and a mask, to protect yourself from splashes, fumes, or skin irritation. Taking these extra safety steps will help make the cleaning process both effective and safe for you and your surroundings.
3.) Spray the area
After wetting down the area, spray the cleaner on your home, ensuring that you cover all the surfaces that need cleaning. You don’t have to worry about your plants being damaged because the water acts as a protective barrier, minimizing the risk of chemical absorption. Pre-wetting the vegetation is essential for this reason, as it helps prevent the cleaner from getting on your plants and causing harm. By taking this extra step, you not only protect your landscaping but also ensure that the cleaning process is thorough and effective, allowing you to move on to the next stage of your home improvement project with confidence.
4.) Brush off the oxidation and dirt
Use a specific scrub brush to remove the oxidation and dirt when cleaning the aluminum siding, as this tool is designed to effectively tackle stubborn grime without damaging the surface. Thorough scrubbing is essential at this stage to ensure that every bit of oxidation and residue is eliminated, which will help the new paint adhere properly. This is an important step, so make sure to clean the surface meticulously and remove any dirt left behind. After scrubbing, let the cleaner sit and do its work for the recommended amount of time, ensuring maximum effectiveness, before rinsing everything off. By being diligent during this process, you set the foundation for a smooth and long-lasting paint job.
5.) Scrub the surface
Scrub down the surface to remove as much oxidation and powdery residue as possible, paying extra attention to any areas where the buildup is particularly stubborn. You may have to do multiple sprays while scrubbing the aluminum siding to ensure that all the grime and old paint particles are effectively loosened. Persistence during this step is crucial for achieving a clean, smooth surface that will allow new paint to adhere correctly. Then, rinse it off thoroughly with the pressure washer to remove all dirt and oxidation dust from the house, ensuring no residue is left behind. This careful cleaning process will help ensure a flawless and long-lasting finish for your newly painted siding.
6.) Rewet the area
You have to re-wet the vegetation around the house to wash off any chemicals that may have gotten on the plants or bushes during the cleaning process. This extra rinse is essential for maintaining the health of your landscaping and preventing any potential damage from chemical exposure. Taking this precaution helps ensure your plants remain safe and vibrant, even after using cleaning solutions. No need to worry about killing the plants, since outdoor bleach is specifically formulated for use outdoors and is less harmful than regular bleaching products. By following these steps, you can keep both your home and your garden looking their best.
7.) Lastly, rinse the area and allow the aluminum siding to dry
Use a large spray nozzle and set it to a high pressure to rinse the area from top to bottom, making sure to cover every section thoroughly for the best results. Maintaining the correct technique is essential. Point the sprayer down and keep it approximately a foot away from the siding to avoid causing damage while still effectively removing debris. Take your time to ensure that all detergents and cleaning agents have been completely removed before proceeding to the next area, as any residue left behind can affect the paint’s adhesion. After that, let the siding dry thoroughly, which may take several hours depending on the weather. Ensuring the surface is completely dry is crucial for achieving a smooth and long-lasting paint finish.
That’s the cleaning process for aluminum siding. Following these steps will help you achieve the best possible results for your home’s exterior. Just spray it with a cleaner, scrub it off thoroughly with a brush, and rinse it well to get a good surface for the paint to bond. Proper preparation is key to ensuring your new paint lasts longer and looks flawless. If you’re looking for professional painters to handle the process from start to finish, reach out to The Picky Painters. Our experienced team can take care of every detail, giving your home a refreshed and beautiful appearance without any hassle.
Check out our Exterior Painting Projects:


Know more about us: https://thepickypainters.com/
Frequently Asked Questions
1. Why is it essential to clean aluminum siding before painting?
Cleaning aluminum siding is essential before painting because, over time, the paint oxidizes and forms a powder-like residue. If this oxidation and dirt are not removed, new paint will not adhere properly, leading to poor results and reduced durability.
2. What is the recommended process for cleaning aluminum siding?
The recommended process involves several steps:
-
Pressure-wash the siding using medium pressure and an angled spray nozzle, working from top to bottom.
-
Wet down the surrounding vegetation to protect it from cleaning chemicals.
-
Spray the area with an appropriate cleaner or outdoor bleach.
-
Use a scrub brush to remove oxidation and dirt, allowing the cleaner to work before scrubbing.
-
Rinse the siding thoroughly with a pressure washer and allow it to dry completely before painting.
3. How should I protect plants and landscaping during the cleaning process?
Before applying any cleaners or bleach, lightly wet the vegetation around your house. This helps prevent chemicals from sticking to and damaging your plants. After cleaning, re-wet the area to wash off any chemicals that may have landed on the vegetation.
4. What safety precautions should I take when cleaning aluminum siding?
Wear recommended protective gear, including gloves, safety glasses, and a mask, especially when using chemical cleaners or bleach. Always read and follow the instructions on cleaning product labels to ensure safe and effective use.
5. Can I hire professionals to clean and paint my aluminum siding?
Yes, if you prefer not to tackle the process yourself, The Picky Painters offers professional cleaning and painting services for aluminum siding. They ensure proper preparation, cleaning, and application for long-lasting results.